Android tablet: Set up
What's coming up?
This course guides you step-by-step through setting up your new Android tablet.
If you have a pre-owned Android tablet, you’ll need to remove the previous owner’s settings by completing the Android tablet: Prepare to set up course prior to starting this course.
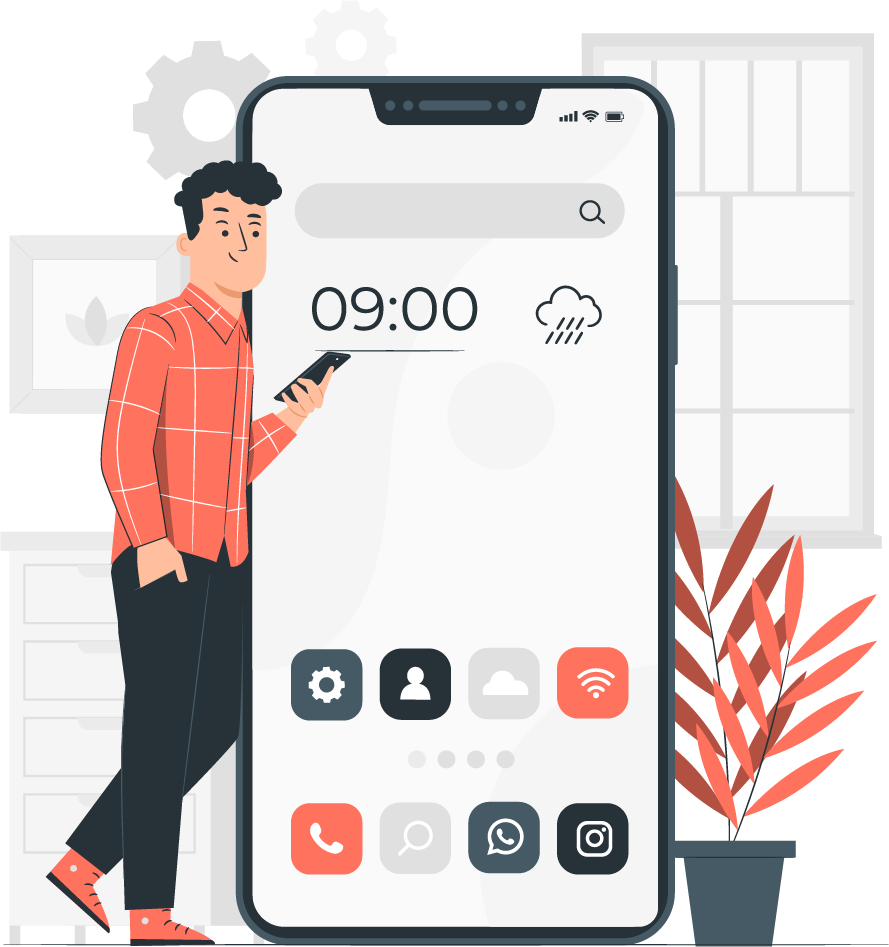
Start activitySetting up your new Android tablet
Get your new tablet connected to the internet, secured with a password, and ready to go!
To begin enjoying your new Android tablet, you first need to set it up. If your Android tablet is brand new out of the box and has not belonged to someone before you, it’s ready to set up. However, if you have a pre-owned Android tablet, it’s important to reset the tablet first, to remove all the previous owner’s personal data. You can learn how to reset your pre-owned Android tablet in the Resetting your pre-owned Android tablet guide.
What you will need
Before you begin setting up your new Android tablet, check you have:
- Fully charged your tablet.
- Access to your home Wi-Fi name and password
Some Android tablets also work using a 4G mobile phone data network as well as Wi-Fi. This won’t affect the steps in this setup guide, but it means some of the information you see might look a little different.
Remember, there are lots of different brands of Android tablet, and they all do things slightly differently. Some of the screens on your tablet might look a little different to the ones in this guide, but you should still be able to follow along.
First steps
Setup begins with some basic steps to get your tablet ready.
- Start by holding the Power button until the screen turns on.
- At the Start screen, the default language should be set to English. Tap the down arrow to see a list of languages.
- Scroll down the list to find your preferred language and tap to select it. For this guide, we’ll be using English
- Tap OK to go back to the Start screen.
- Tap the arrow under Start to continue to Wi-Fi set up.
It’s safe to tell your tablet that you live in USA. This doesn’t give out your home address, and it makes sure you get the right updates and information for USA tablet users.
Connecting to Wi-Fi
Now it’s time to connect to your home Wi-Fi for internet access. Your new tablet needs an internet connection to download apps, access information and stream TV shows or movies.
- If your tablet is showing the Start screen again, tap the arrow. Otherwise your tablet should now be showing the Wi-Fi setup screen
- Find the name of your home Wi-Fi network on the list.
- Tap your home Wi-Fi name to begin connecting
- Use the keyboard to type in the password, taking care to match uppercase and lowercase letters exactly. Then tap Connect.
- Your Android tablet will connect to your home Wi-Fi and continue with some automatic setup tasks in the background.
- You’ll also be asked to agree to the End user license agreement and the Privacy policy. The other options on this screen you can leave switched off. Take some time to read the information, and when you are ready, tap Agree.
- Now it has internet access, your tablet will do some Checking for updates. This will improve performance and security. You might need to wait for a few minutes for this part to finish.
Creating a Google Account
Next, your tablet will ask you to Sign in to a Google Account. You can use your existing Gmail username and password here, if you already have one. If you don’t, you’ll need to set one up.
A Google Account is a free Gmail email address that lets you download apps, use your tablet to pay for things in some shops, and will help you locate your tablet if it’s ever lost. Your Google Account also provides extra security for your personal data.
Steps: To create a Google Account
- To create a Google Account, tap Create account.
- From the list of options, choose For myself.
- Enter your First name and Last name using the keyboard.
- Enter your Birthdate and Gender. You can choose Rather not say for gender, if you’d like.
- Now create a Gmail user name. This is the user name you’ll use to sign in to your Gmail account. You can use your own name, or any word. Type something you like under Username.
Providing some personal details when setting up a Google Account is safe and helps ensure that only you can use your Google Account.
- If someone has already chosen that user name, try another one, or accept one of Google’s suggestions. It’s safe to do this.
- Next, create a strong password to secure your Google Account and type it in using the keyboard. A strong password will have at least eight characters, including letters, numbers and capitals. Avoid using anything that’s easy to guess, such as your date of birth, or numbers that are in sequence. The password should not be the same as any other email or account, and you should keep a record of your Google Account and password in a safe place.
- Type your new password in a second time to confirm it
A strong password will have at least eight characters, including letters, numbers and capitals.
- Google will ask if you want to enter a mobile number for extra security. You can enter your mobile number here, or tap Skip to do this another time.
- The last step is to agree to Google’s privacy and terms. Read these carefully and tap Agree to continue.
- Your Android tablet will politely thank you for creating a Google Account! Tap Next to go on with the rest of the setup process.
- Google will try to find old backups of photos and apps, but since this is a new account, there won’t be any! Just tap Next.
Making your Android tablet secure
Your Android tablet will now give you some options to make it secure with a password. Your password is an access code just for your Android tablet and protects the tablet from being used without your permission.
- Begin by tapping Set up PIN, pattern, or password for your tablet.
- A password is more secure and harder to guess than a PIN, so tap Password.
- Tap Require password when device powers on. Then tap Continue.
- Using a mix of letters, numbers, and capitals, Type in a new password. It needs to be different from your Google Account password. Then tap Continue.
- You’ll need to Enter the password again to confirm that this the password you want to use. When you’ve done this, tap OK.
Enabling Google Assistant
The Google Assistant lets you do a range of things on your tablet using voice control.
We’ll look at Google Assistant in more detail in another course, so tap More, then No thanks to set this up later.
Setting up extra Google features
Your tablet will now offer to enable some extra features from Google. Google Services automatically backs up your data, and lets apps use your basic location.
- Having a backup of your photos, personal and other information is handy, especially if your tablet is lost, broken, or stolen.
- Letting your tablet know your location is safe, and very useful. Apps can provide more accurate local weather and traffic reports, and even help you find your tablet if you lose it.
We’ll look at how these features work in another guide. For now, to enable Google Services, tap More and then tap Agree.
Your tablet will look for existing backups to restore. Tap OK to move on to the next step.
You’ll now see a list of free apps. Scroll through them and read their descriptions. If you want to install them all, tap OK.
Tablet maker features
Your tablet will now ask if you want to set up an account with the tablet’s maker. This can enable some extra features, but you can set this up later.
Tap the down arrow and then tap Skip.
Finally, your tablet’s maker will show a screen that tells you what’s special about your particular model. After you’ve read this, just tap Finish.
When the Home screen appears, set up is finished. Well done!
Final steps
To check your Android tablet is properly connected to your home Wi-Fi, look for the Wi-Fi symbol in the top of the display.
If the symbol is white, your tablet is connected to Wi-Fi and ready to use.
Congratulations!
You’ve completed the Android tablet: Set up activity.
Next up, we'll learn the Android tablet: Security & privacy activity.