Using the camera
What's coming up?
Welcome to the 'Android phone: Using the camera' course. In this course, you'll learn how to quickly access your phone's built-in camera, how to take a photo and use it as a background image. You'll also learn how to take a selfie, how to delete a photo you don't like, and how to edit a photo and send it to a friend.
Start activityUsing the camera
Welcome to the 'Android phone: Using the camera' course. In this course, you'll learn how to quickly access your phone's built-in camera, how to take a photo and use it as a background image. You'll also learn how to take a selfie, how to delete a photo you don't like, and how to edit a photo and send it to a friend.

Using the camera
There are many types of Android phones. If your Android phone is a different model to the one shown in this demonstration, the steps might be slightly different, but you can still follow along.
Using the camera
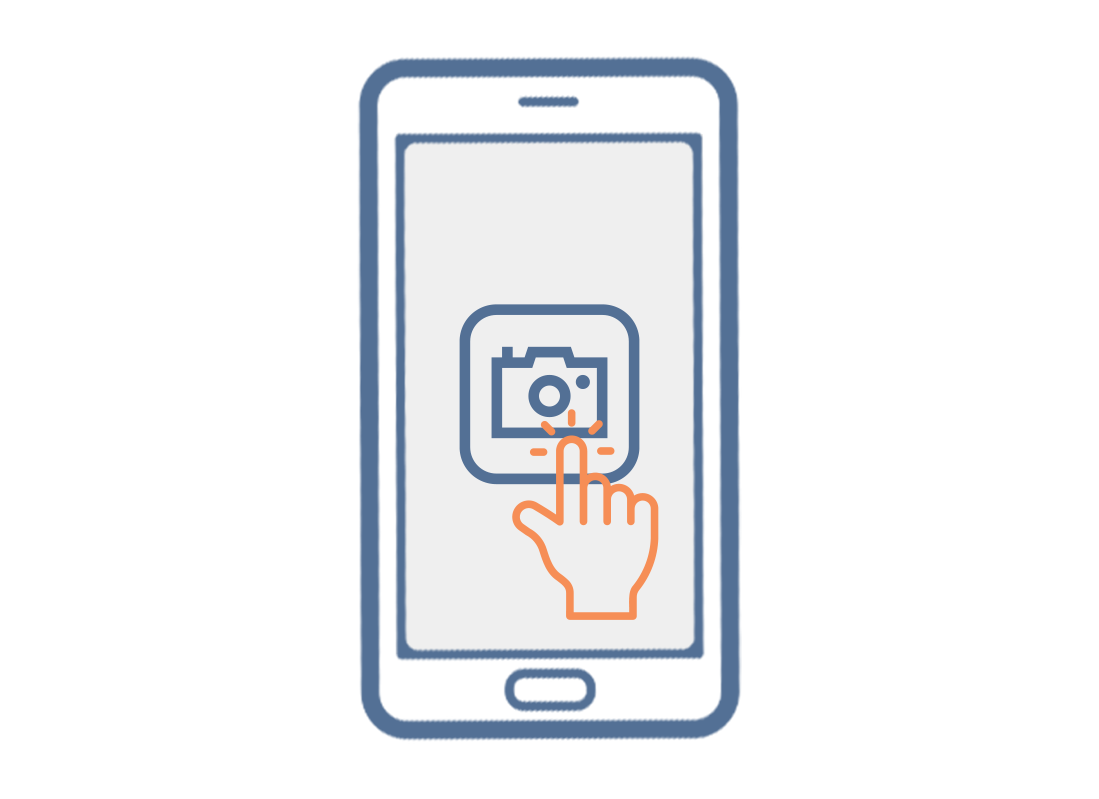
To get started, let's look at how to access the camera on your phone. One way is to tap the Camera app icon on your Home screen. If you can't find it on your Home screen, you'll also be able to access it from the Apps screen. Swipe up from the bottom of the Home screen to open the Apps screen. When you find the Camera app icon, you can tap on it to open the Camera app.
Using the camera
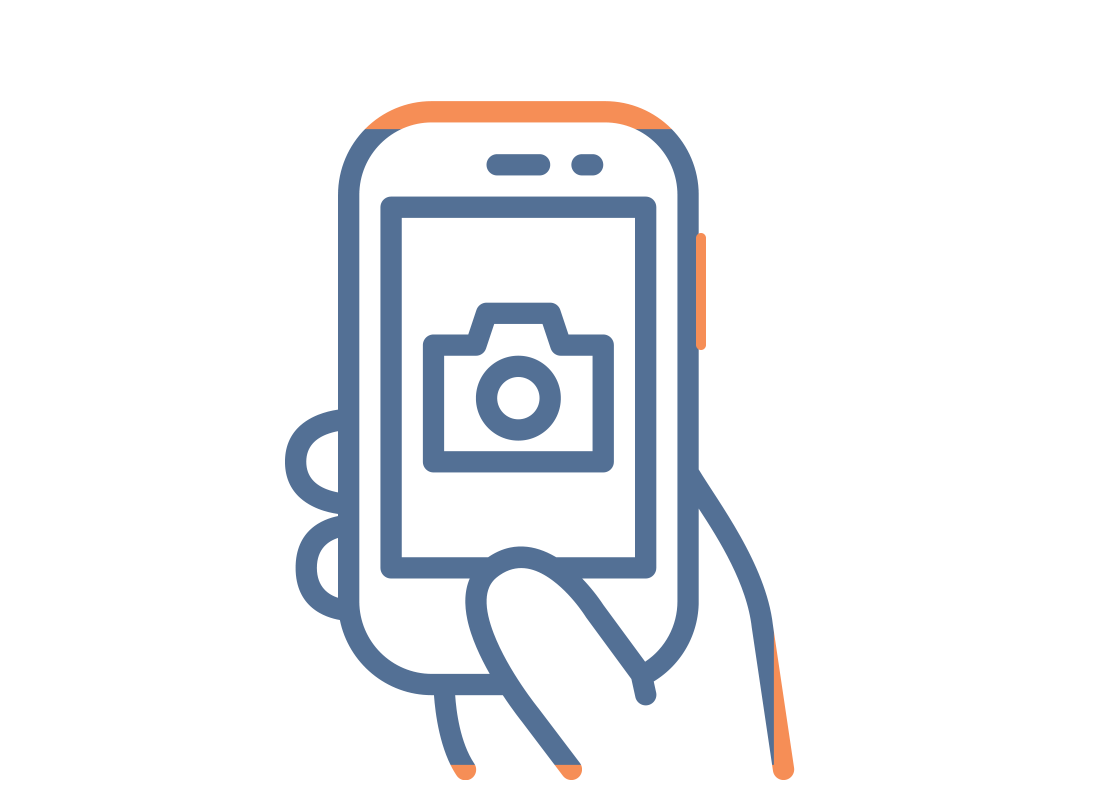
Let's look at another way to access the Camera app. This handy shortcut lets you quickly access it at any time, even when your phone is locked. Simply press the Power button on the side of your phone twice quickly to open the Camera app.
Using the camera
If you open the Camera app from the Lock screen, your phone is still locked. You will be able to take photos and see the photos you've just taken, but you won't be able to use any other features of your phone until you unlock it.
Using the camera
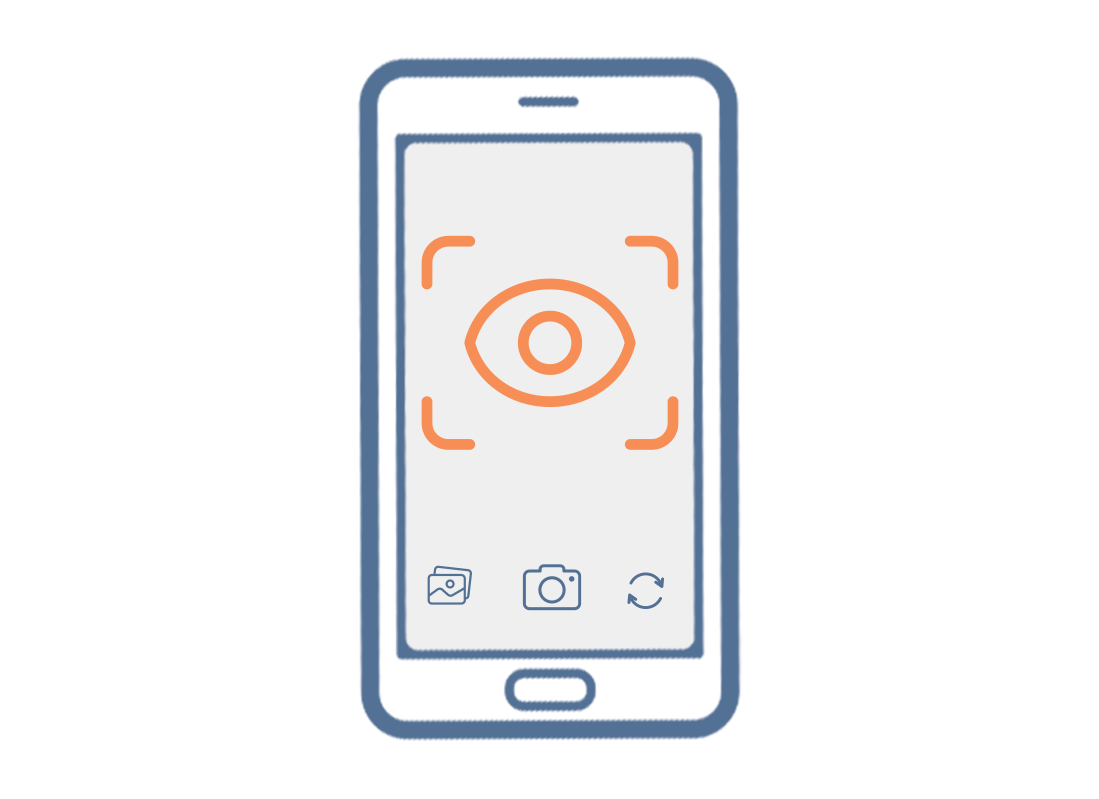
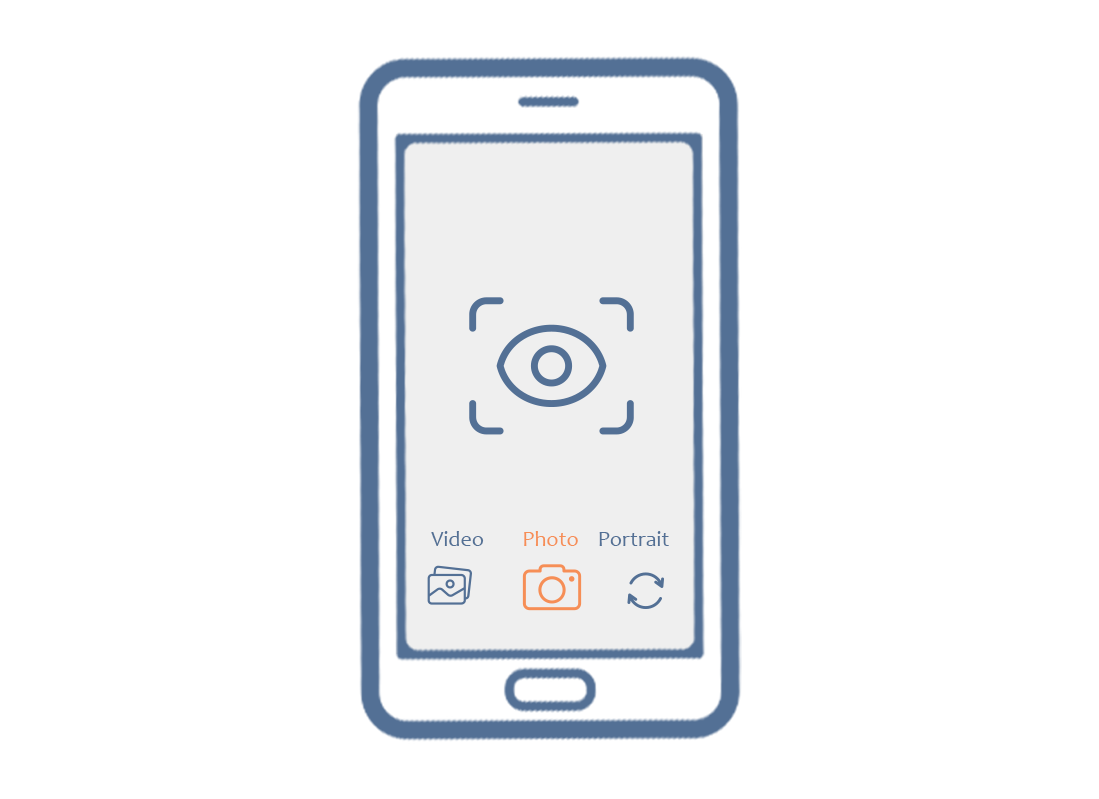
Opening the Camera app activates the camera. Here you can see a preview of what the camera can see. It's not recording video or taking photos just yet, it's just showing a preview of the area that would be captured if you were to take a photo or video.
Using the camera
Under the camera preview area is a list of all the different types of photos and videos you can capture on your phone. You can explore these options by swiping through this list, but for this demonstration, we're going to keep Photo selected.
Using the camera
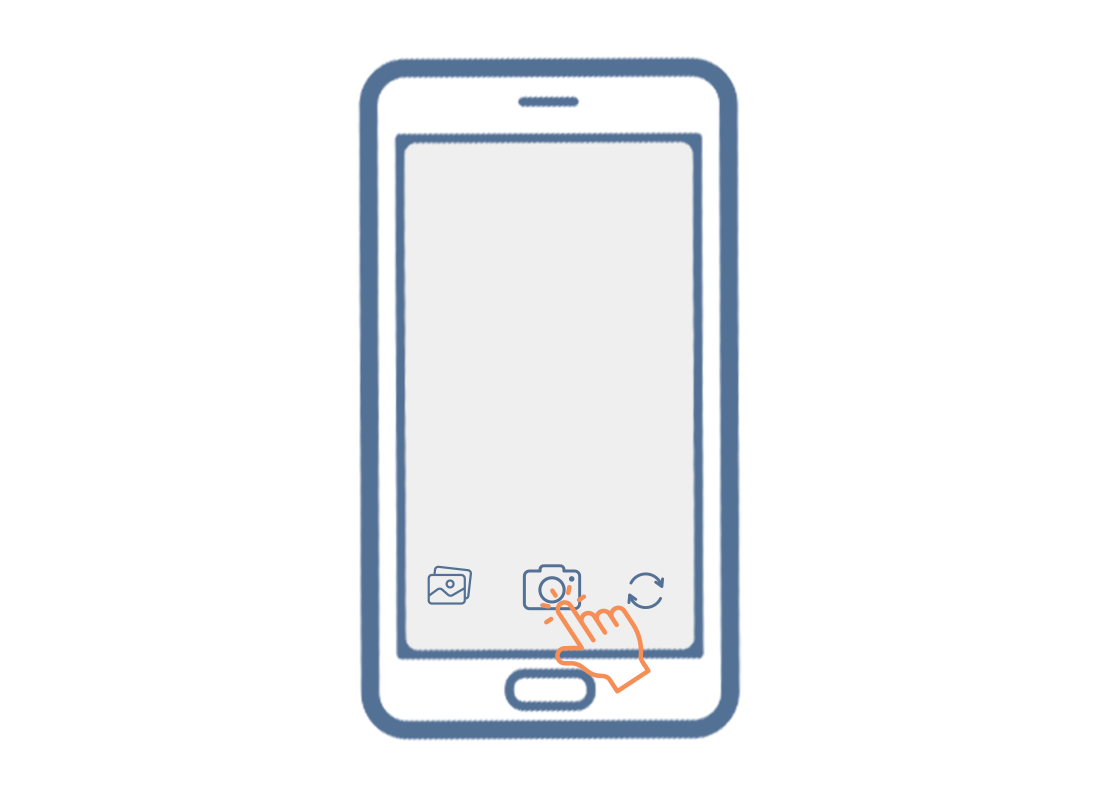
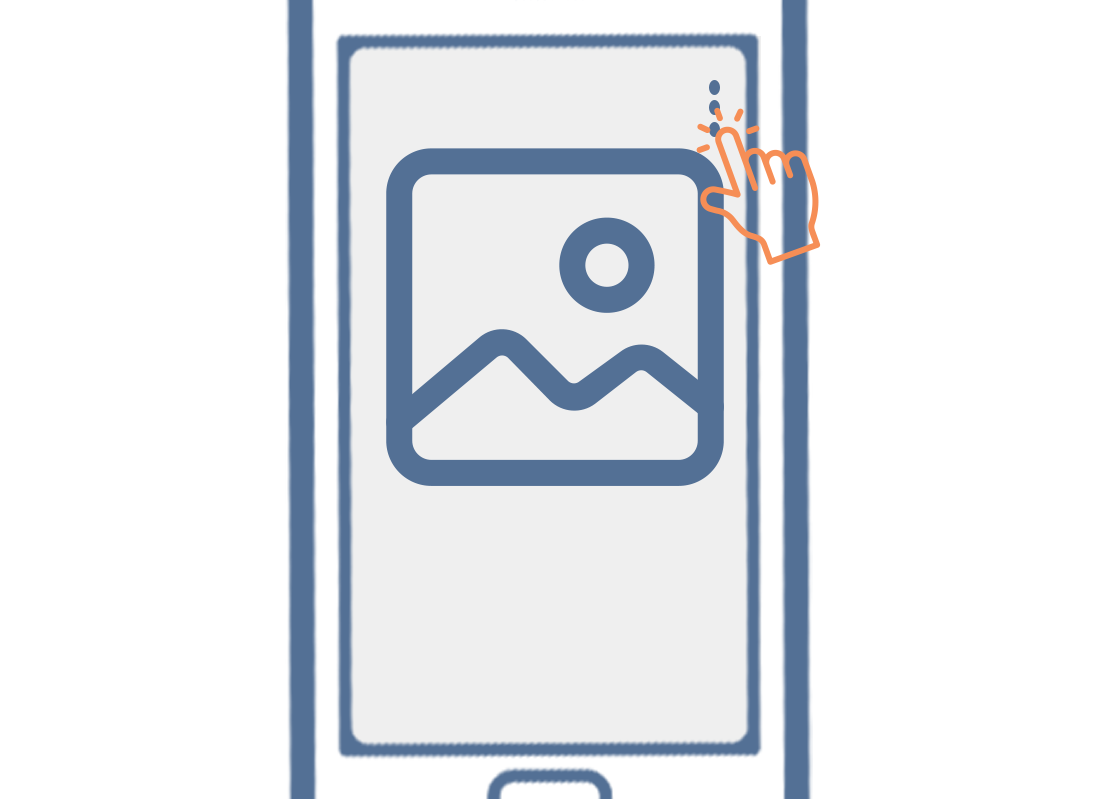
To take a photo, simply tap the middle Capture button. The photo will be saved to your phone's Gallery app, and we'll look at that in more detail later in this course. You can view the last photo you've taken by tapping the square to the left of the Capture button. Tap on it to open the Gallery app and see your photo.
Using the camera
Let's look at how you can personalise your phone using a photo as your background. Look for the three vertical dots in the bottom-right corner of the screen and tap them to see a list of options. To save our image as a new Home screen background, tap Set as wallpaper. Some more options will appear. For this demonstration, we're going to tap Home screen to set the photo as our phone's Home screen. The screen will change to show a preview of how the photo will look on the Home screen. You can tap and drag the photo around the screen until you find a position you're happy with. Then tap Set on Home screen. Tap the Home button to close the Gallery app and see your new background on the Home screen.
Using the camera
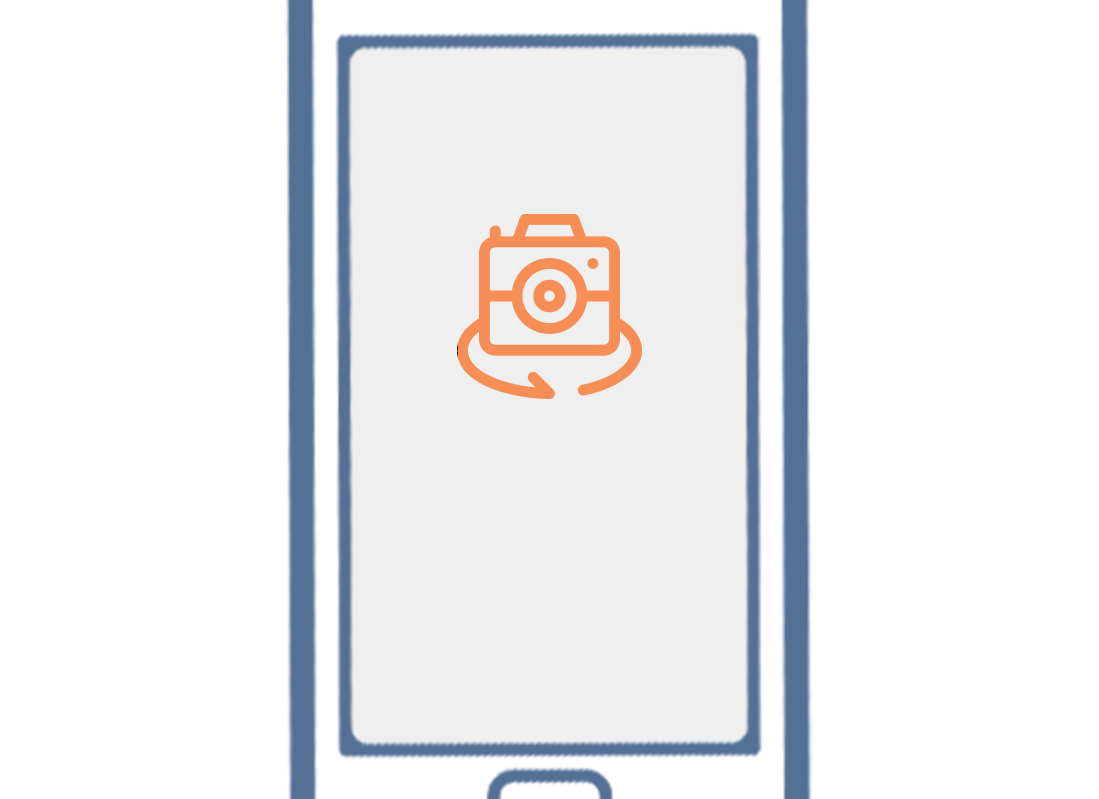
Next, let's take another kind of photo called a selfie. A selfie is a photo taken using the phone's front-facing camera. It's called a selfie because it's usually a photo of yourself and anyone else who can fit in the shot. Open the Camera app. For this demonstration, we'll tap the Camera app icon that's on our Home screen. To take a selfie, find the Switch Camera icon, which is to the right of the Capture button at the lower-right of the screen. It looks like two round arrows in a circle.
Using the camera
Tap it to activate the phone's front-facing camera. Your face should appear on the screen. You might need to hold the phone out at arm's length and at a bit of an angle to compose the perfect selfie photo. Tap the Capture button to take your selfie. Take as many photos as you like to practise. It can be a good idea to look directly at the camera, which is at the top of your phone, when taking a selfie. The photos you've taken are saved in the Gallery app.
Using the camera
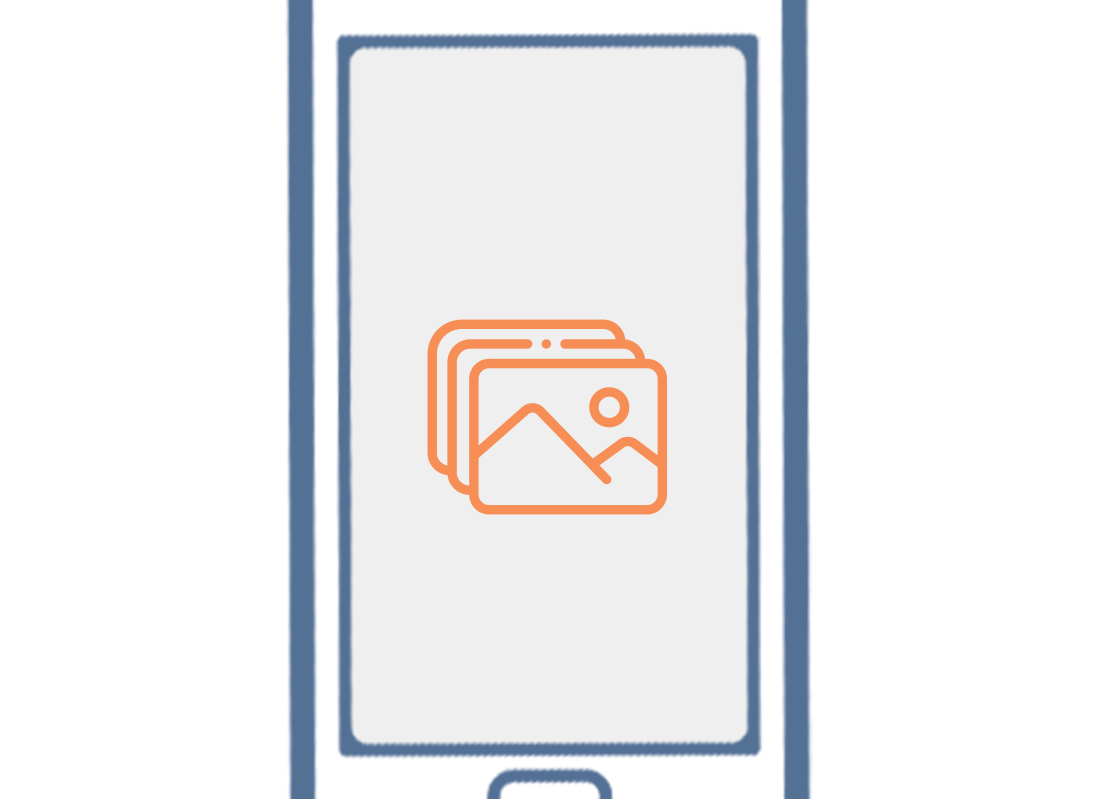
Let's take a look at them now. Tap the Home button to return to the Home screen. Swipe up from the bottom of the Home screen to show the App screen. Find the Gallery app icon, which looks like a flower. If you can't find an app called Gallery, it may be called something like My Photos or Camera Roll, depending on your phone's maker. When you've found it, tap the app icon to open the app. You will now see a grid of small image previews with the most recent photos at the top. Tap one of the selfie photos to view it full screen. You can keep viewing your photos in this full screen mode. Simply swipe right to see the next photo. Swipe left to see the previous photo.
Using the camera
If you find a photo or a selfie you don't like, you can delete it from your phone. The Delete button is at the bottom-right of the screen and looks like a garbage can. Tap it to delete your photo. From the options that appear, tap Move to Recycle bin. The photo has been removed and the screen will show the next photo in the Gallery app instead.
Using the camera
You can also do some basic photo editing using your phone's Gallery app. For example, you can reduce the photo's width or height, known as cropping, straighten an uneven shot, and much more. In this demonstration, we'll swipe right to go to the photo we want to edit. At the bottom of the photo, look for the Edit icon. In this demonstration, it looks like a pencil. Tap it and some icons for different editing controls will appear. It's worth coming back and experimenting with each of these controls later, but for this demonstration, we're going to crop the edges off our photo. At the bottom of the screen is an icon that looks like a box with an arrow next to it.
Using the camera
This is the Crop button, and if it's not already selected, tap it to go to cropping mode. Some white lines will appear around the photo and you can use these to change the edges. Tap and hold the white line on one of the corners and slide it up or across to crop the edges off the photo. When you're happy with the new composition, take your finger off the display. The view changes to show how the photo looks after cropping the edges. Have a play with how the crop controls work. And when you're happy with the result, tap Save at the top-right of the screen. From the options that appear, tap Save to save over the original selfie. The cropped selfie has now been saved and has replaced the original as a new photo in the Gallery app.
Using the camera
Now that you have the perfect selfie, let's finish this course by sending it to a friend. We're going to send the photo using a feature of the Messages app that lets you attach a picture. This is called MMS, which stands for Multimedia Messaging Service. First, find the Share icon in the row of icons underneath your photo. It looks like three small circles connected by two lines. Tap the Share icon to continue. The Share menu pops up. There are lots of options here, but we're going to use the Messages app. Tap the Messages icon to open the app.
Using the camera
At the top, the To box is already selected. You can type the name of the contact you wish to send the photo to, or scroll down and select the name from the list. Once you've chosen the contact, look for Next at the top-right of the screen and tap it. A new message screen will appear. The photo is attached to the body of the message ready to go. Using the keyboard, you can type in a short message to go with the selfie. To send the message, we're going to tap the Send MMS icon which is above the keyboard at the bottom-right of the selfie and looks like a paper plane. When you're ready, tap the Send arrow. Once the message has been sent, the photo will appear in the conversation view. Now, tap the Home button to close the message and return to the Home screen.
Congratulations!
You have now completed this course and learned how to use the Camera app on your Android phone to take, edit, save, and send your photos. Your phone's camera and Gallery apps have lots of other options for taking and editing pictures, so enjoy experimenting with them to get the most out of your photos.
Next up, we'll learn the Android phone: Calls and privacy activity.