Setting up your new Android phone
What's coming up?
Welcome to the 'Setting up your new Android phone' course. A new Android phone is one that has not belonged to someone before you. Or a phone that has been reset, so it's safe to use.
Start activityBefore you start setting up
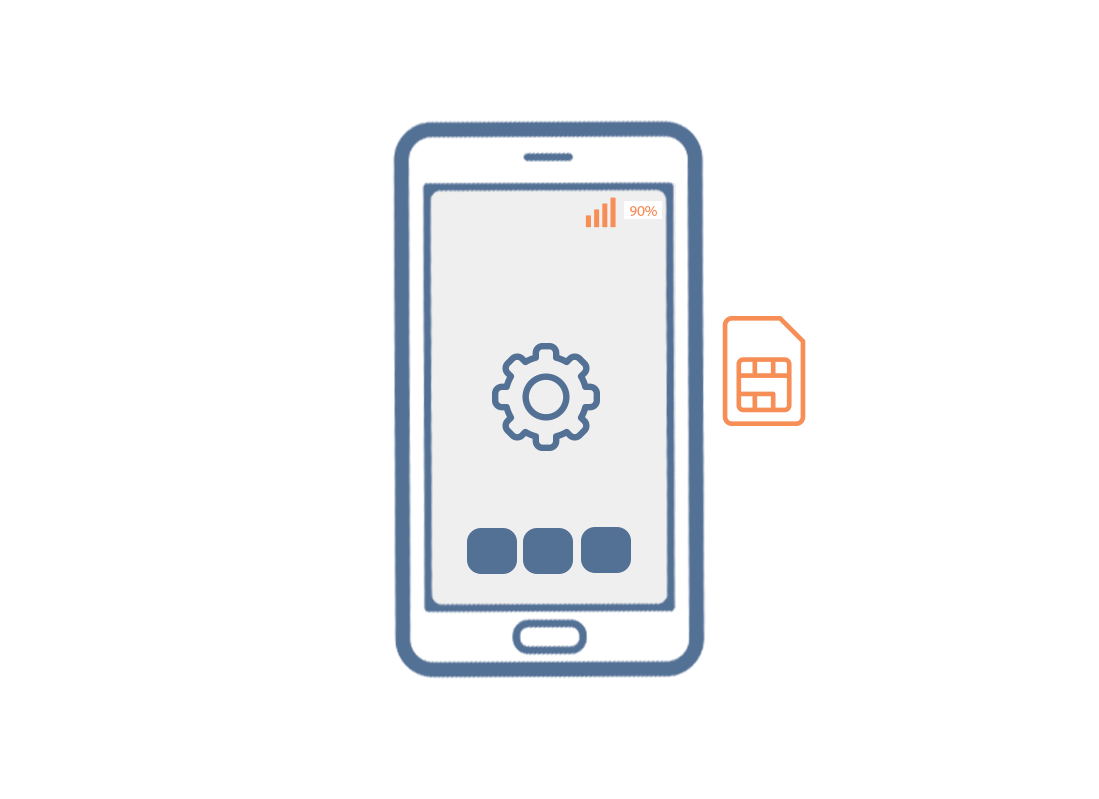
Before you start setting up your new phone. It's a good idea to have a mobile phone plan with a service provider. And you should have inserted your SIM card into the phone. You should also have ready access to your home Wi-Fi name and password. If you don't have a SIM or a mobile plan yet, you can still set up your phone and be able to follow along with this video. There are many types of Android phones. If your Android phone is a different model to the one shown in this demonstration, the steps might be slightly different but you can still follow along.
Let's get started
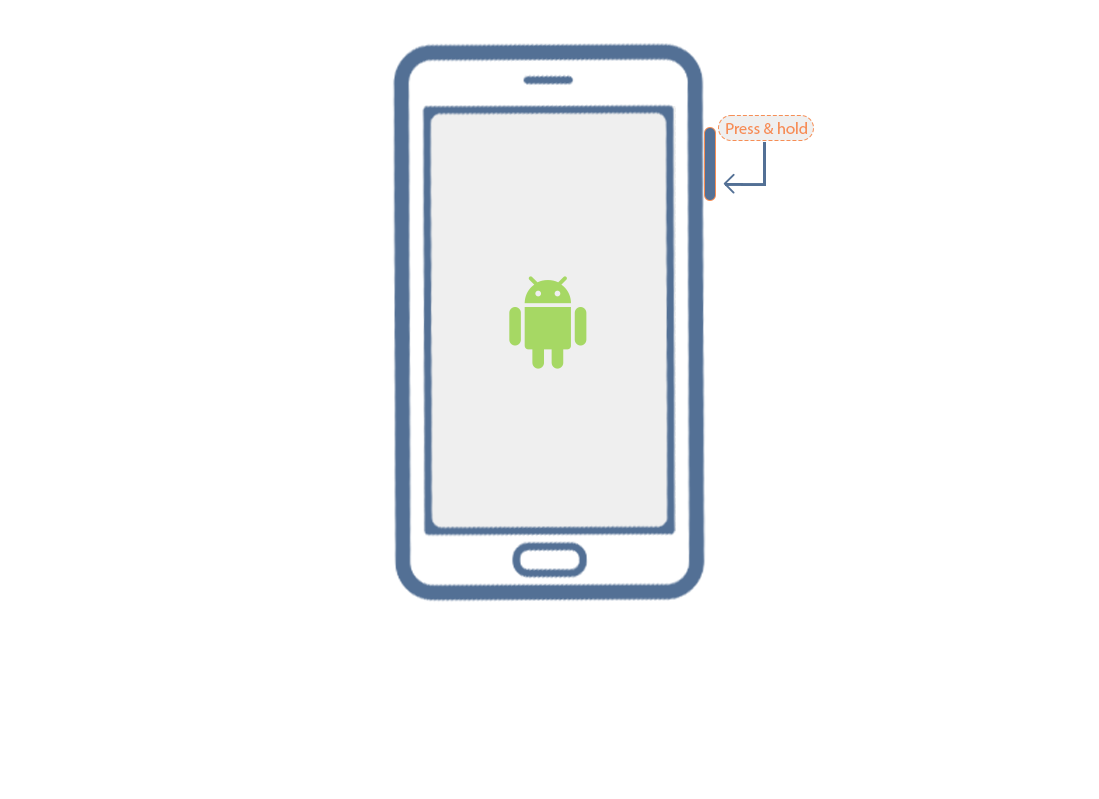
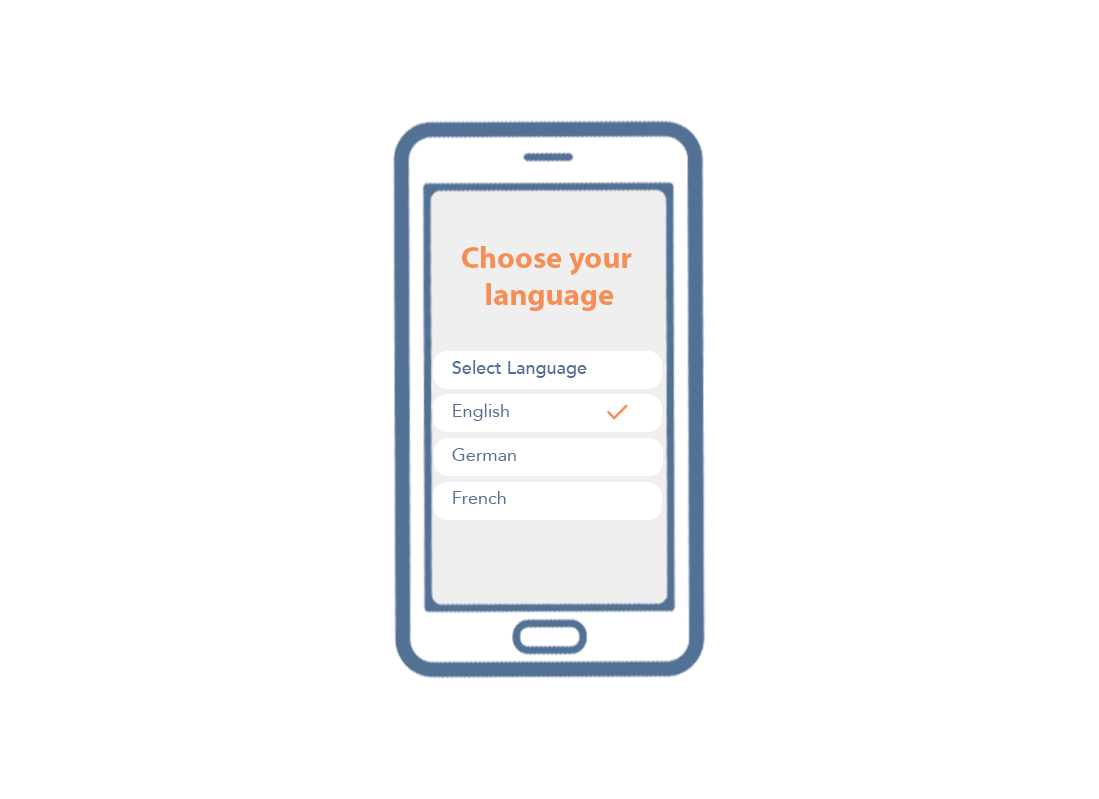
To begin, switch on your Android phone by holding the power button until the phone maker's logo appears. After a moment, the Welcome screen will appear, displaying the language that is used on the phone. Tap the down arrow to see more language options. If your preferred language doesn't show near the top, you may need to scroll down to find it.
Language & User licence agreement
You can tap a language to choose it but for this demonstration, we'll leave English selected. Once you've selected your language, tap OK, to return to the Welcome screen. Now tap the blue Start button. Before you can begin setting up your phone, you'll need to agree to some terms and conditions. You can tap Details next to each option to read these agreements in more detail. It is safe to agree to the end user licence agreement and the privacy policy, so when you are ready, tap the circle next to each of these and a tick will appear. The other option is about sending data to Google or your phone's maker. You can leave this unticked. Tap Agree.
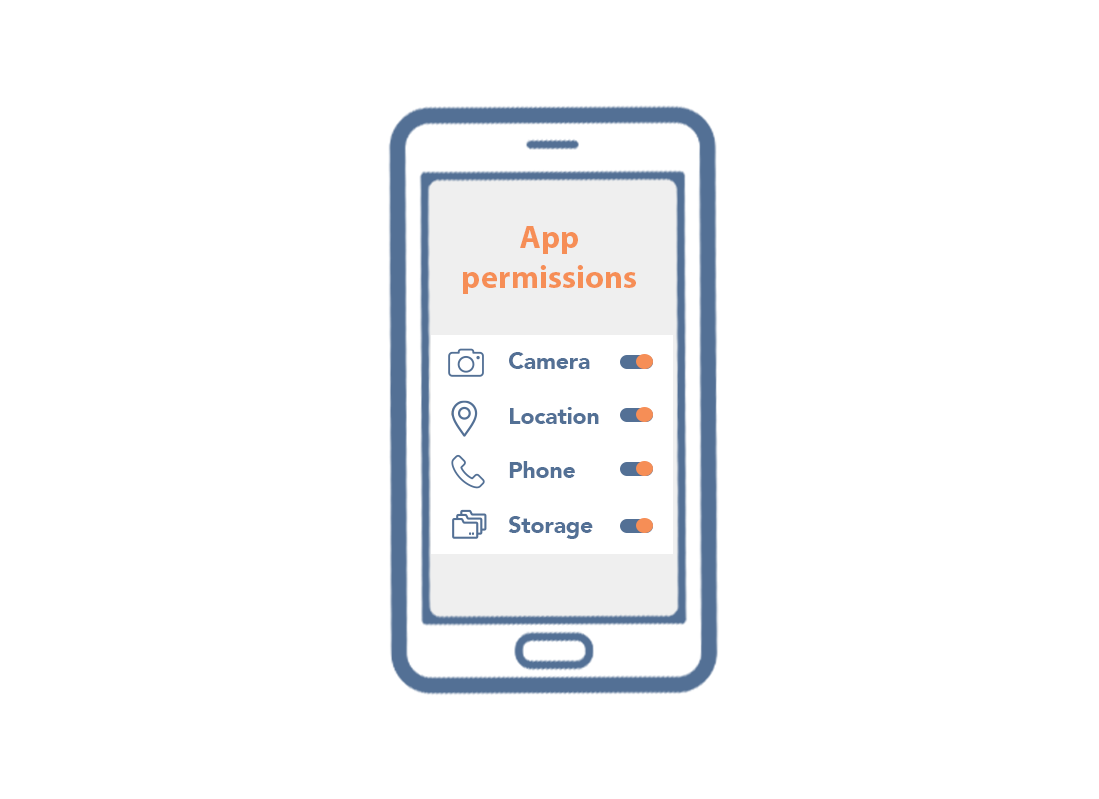
Change The Permissions
Now this next screen lets you review and change the permissions you have given to your phone's maker. Tap More to view the complete list. Read through the list of the apps and services your phone wants you to allow. You can tap the switch to the right of any features you want to turn off. For this demonstration, we'll leave them all switched on and tap the blue Agree button at the bottom.
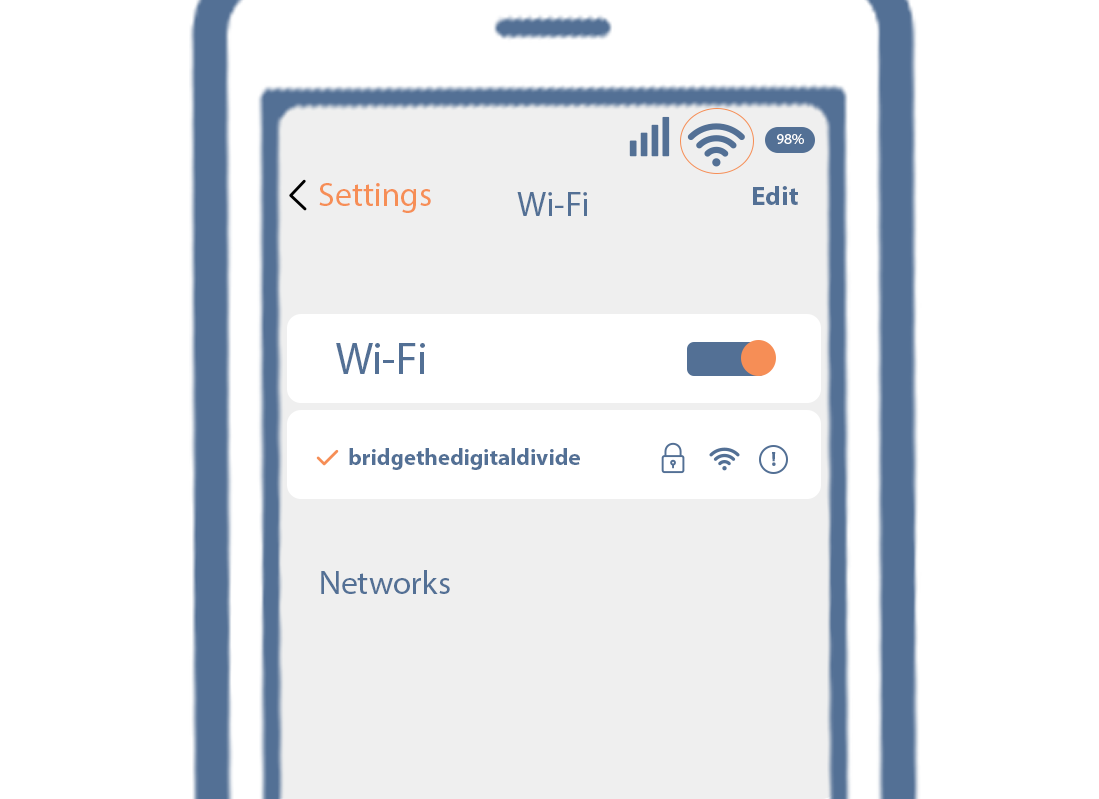
Wi-Fi Settings
it's time to connect your phone to your home Wi-Fi. Connecting to Wi-Fi at home can save you money because using the internet via the mobile data network can be more expensive. Find the name of your home Wi-Fi network in the list. It will most likely be at or near the top. Just tap your network name to start connecting. Type the password for your home Wi-Fi. If you haven't changed it, the password will probably be written on the bottom of your home router. Use the keyboard to type in the password. Type it carefully so that any upper and lowercase letters match exactly. When you are done, tap Connect. Now you are connected to Wi-Fi. Tap the blue Next button. Your phone might take a few minutes to do some setup in the background. If you have an existing Android phone and have completed a backup of your information, you can tap Next to copy its settings, apps, photos and other content to your new Android phone. For this demonstration, we'll tap Don't copy.
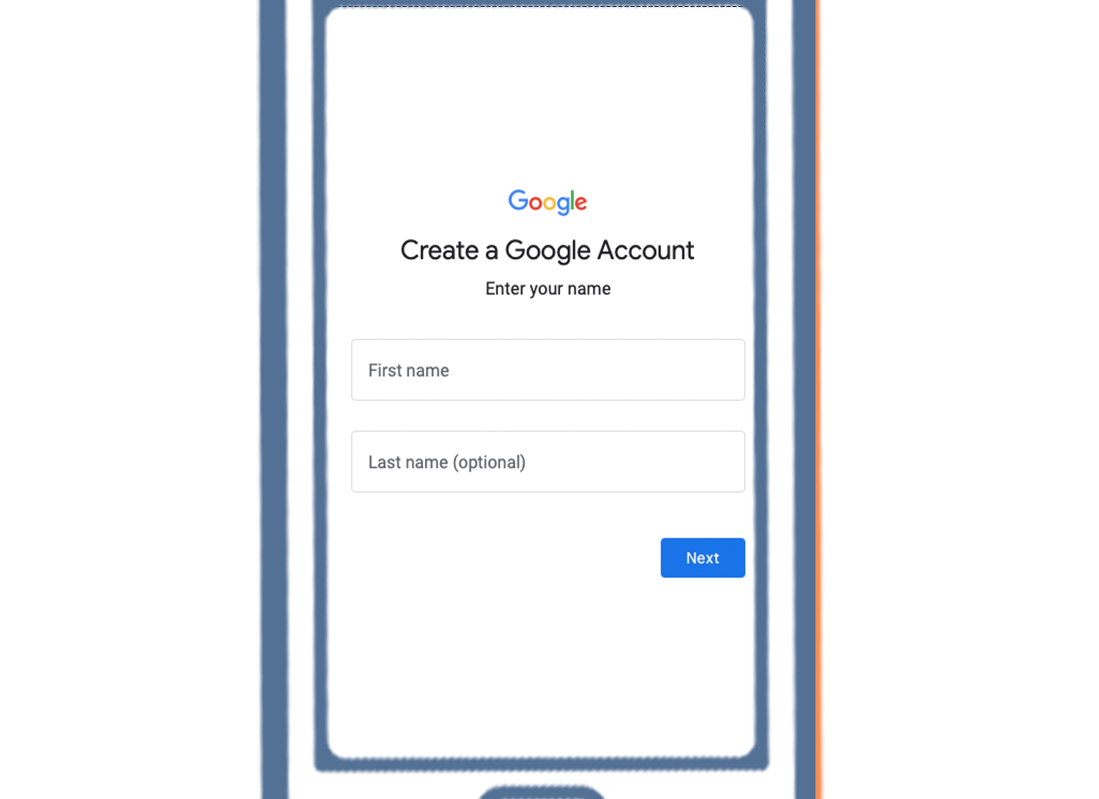
Set up Google Account
Now you'll be asked to sign in with your Google Account. Use your existing Gmail username and password, if you have one. If you don't have a Google Account, tap Create Account. And from the options that appear, tap For Myself. When you create a Google Account, you'll get a free email address. What's more, you'll be able to track your phone and even erase it remotely if it gets lost. First, tap First Name. And the keyboard will appear. Type your first name and then, tap Next to enter your surname. It's okay to provide your personal information during the Google Account setup, as this ensures that only you can use your Google Account. Tap Next.
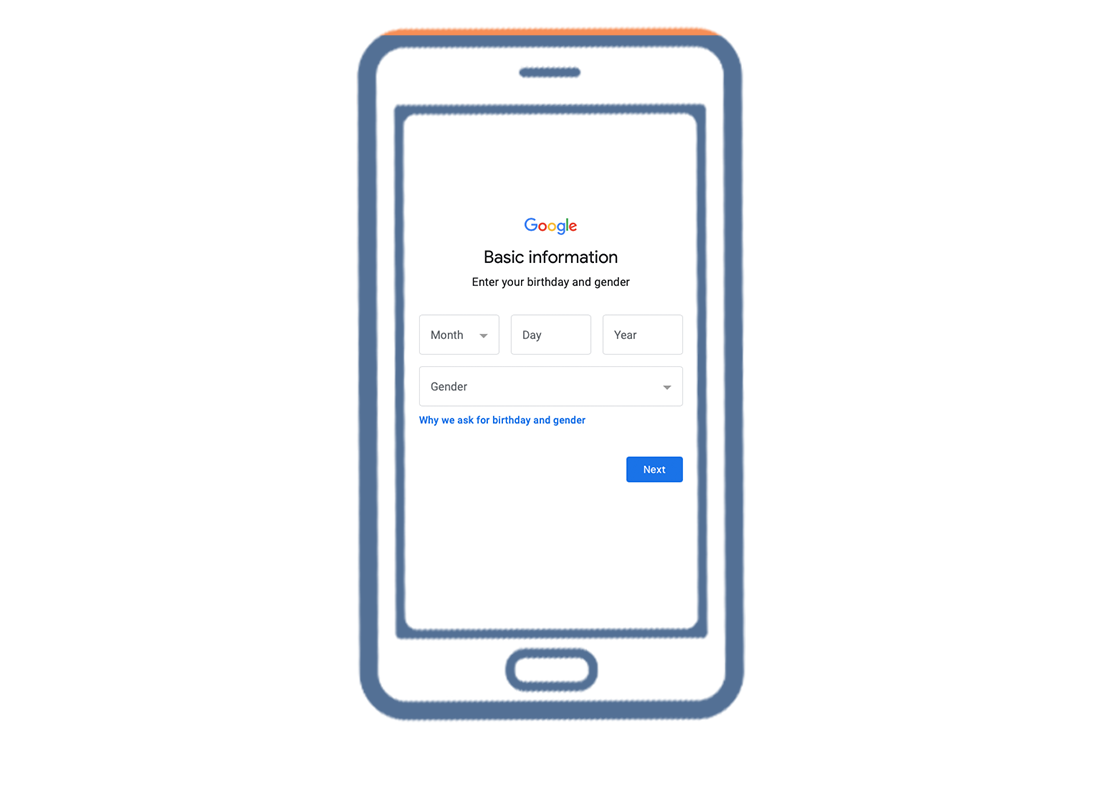
Google Account
Tap the first box and the keyboard will appear so you can enter your birthday. Then, tap Gender, and some options will appear. If you don't want to enter your gender, select Rather not say. Tap Next. To create a Google Account, you'll need to choose a username, which will double as your Google email address. You'll use this username to sign into your Google Account to access any Google services, including email. Google email is called Gmail, and your Google email address will end with @gmail.com. Use the keyboard to type a name, word or whatever you like under username. If the address is already in use, you can try another.

Google Account
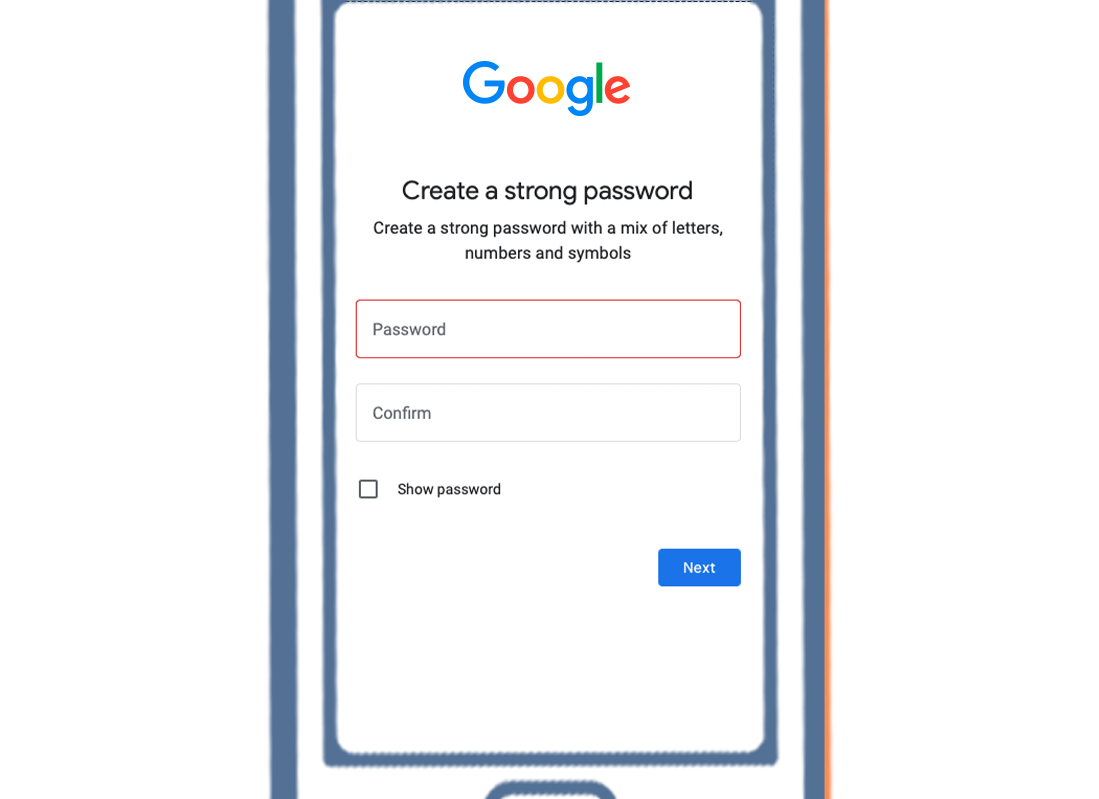
Google will suggest some other usernames that are available and you can tap the one you want to use. Tap Next, to create your Google password. It's important that you create a strong password. A strong password should have at least eight characters including letters, numbers, and capitals. When choosing a password for your Google Account, don't use the same password as any other email or account.
Google Account
This makes it harder for other people to guess it and get access to your information. You should also keep a record of your Google Account, username and password in a safe place, in case you forget it. Use the keyboard to enter your password, and tap Next.
Google Account
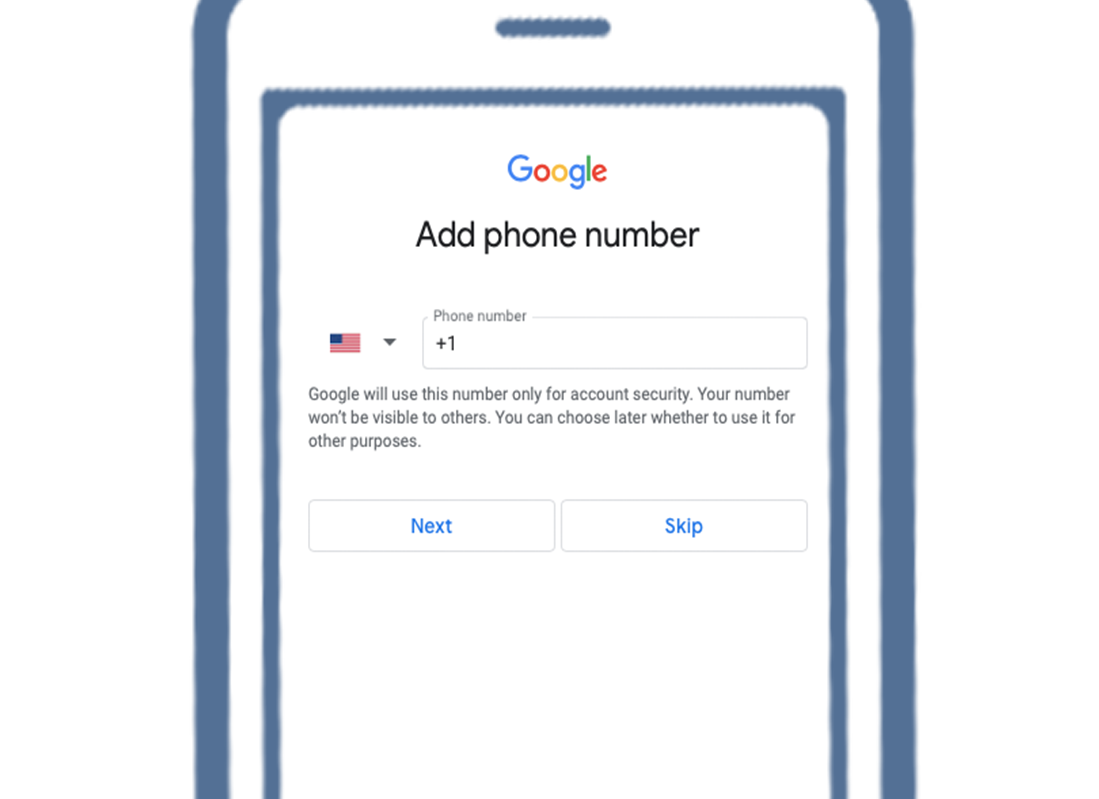
To add your mobile phone number to your Google Account, tap Yes, I'm in. Or tap Skip, to do this at a later time. Review your account information and if this is correct, tap Next. In order to finish setting up your Google Account, you'll need to agree to Google's privacy and terms. Once you've read through these, tap I Agree. Now let's look at Google Services.
Google Services
Google Services automatically backs up your data so you'll have a copy in case your phone gets lost, broken, or stolen. Google Services also helps apps use your location, so they can provide more accurate local weather and traffic reports. They can even help you find your phone if you lose it. We'll look at how this is done in another course. Scroll through these settings to read them all and if you are happy, tap Accept. It's important to protect your phone so others can't access it without your permission.
Google Services
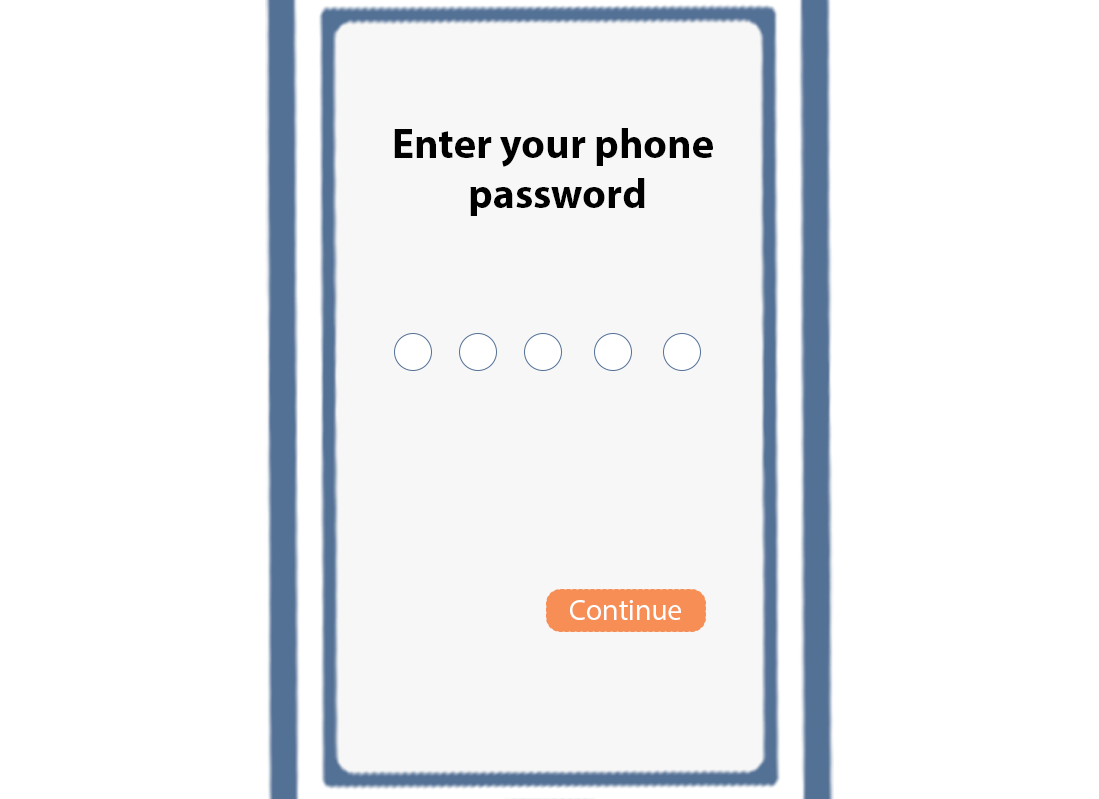
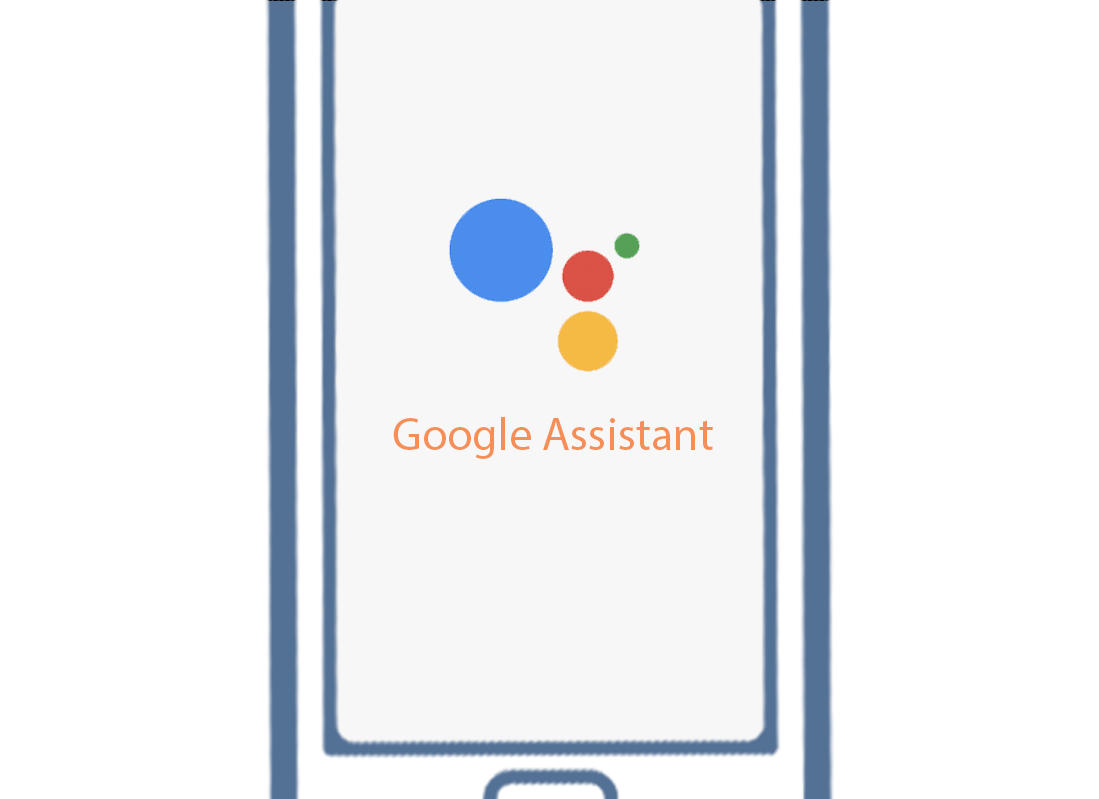
There are a few different ways to do this depending on your phone. For this demonstration, we'll protect our phone by setting up a password, so tap this option to continue. This is the password you'll need to enter to unlock your phone, so make sure it's easy for you to remember, but difficult for others to guess. It should also be different to the Google Account password you just created. Enter the password you want to use to protect your phone and tap Continue. You'll need to enter the password again to confirm it. This screen provides some information about Google Assistant. This is a handy feature that lets you control your phone using your voice. We'll look at this in more detail in another video so we'll tap More and then Skip, to set this up later.
Google Assistant
This screen explains how you can access Google Assistant, while your phone is locked. For this demonstration, we'll tap More and then Skip. You can always change these settings later.
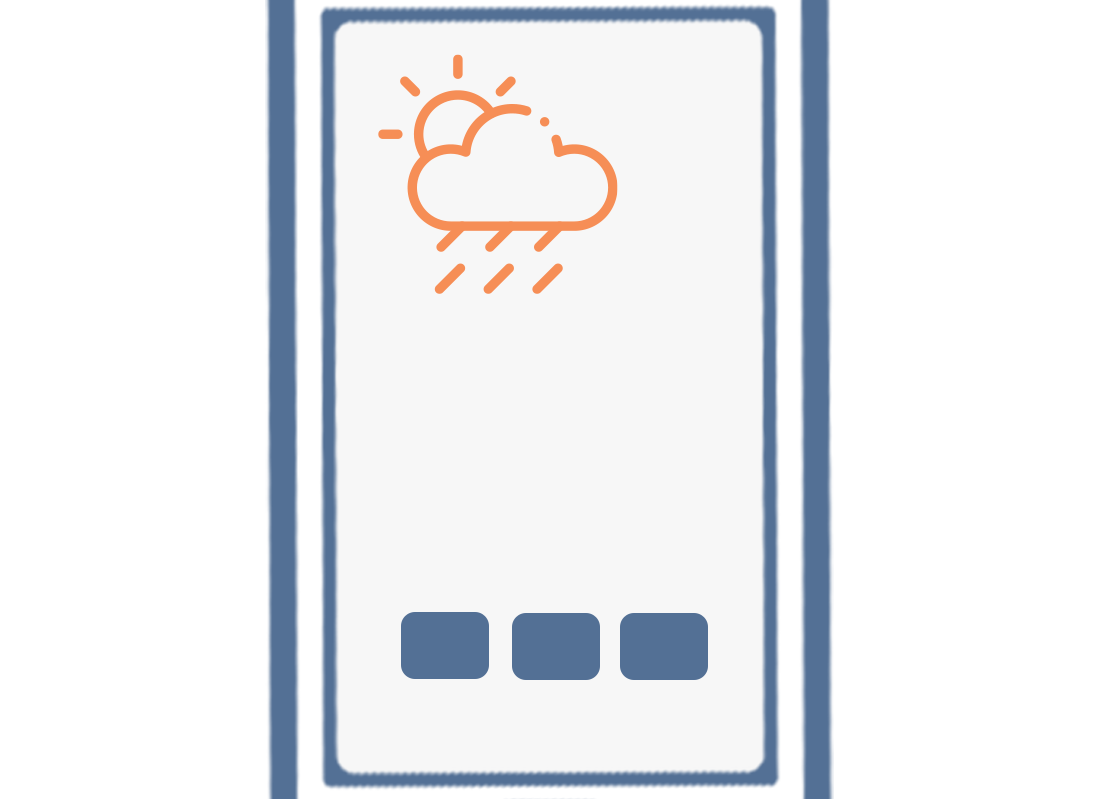
Screen View
Now, this screen lists some of the free apps that you can install on your phone. These include handy apps for weather, photos and web browsing. It's a good idea to install these now, so tap OK. Your phone may take a few minutes to get set up and ready. Once it's done, it may ask if you want to sign into an account with the phone's maker. For this demonstration, we'll tap, Skip.
Wi-Fi Settings
Your phone might display some of the features that you can use if you create an account with the phone's maker. Some of these things can be handy but we can always do this later, so we'll tap Skip.
Screen View
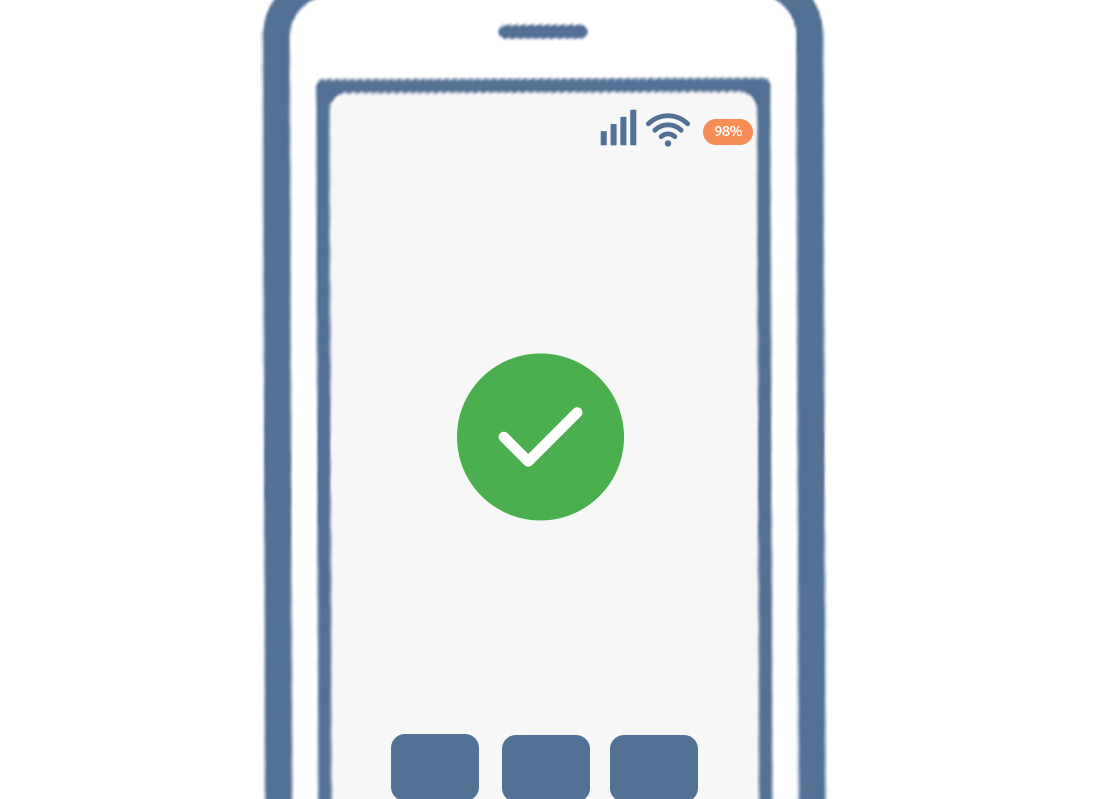
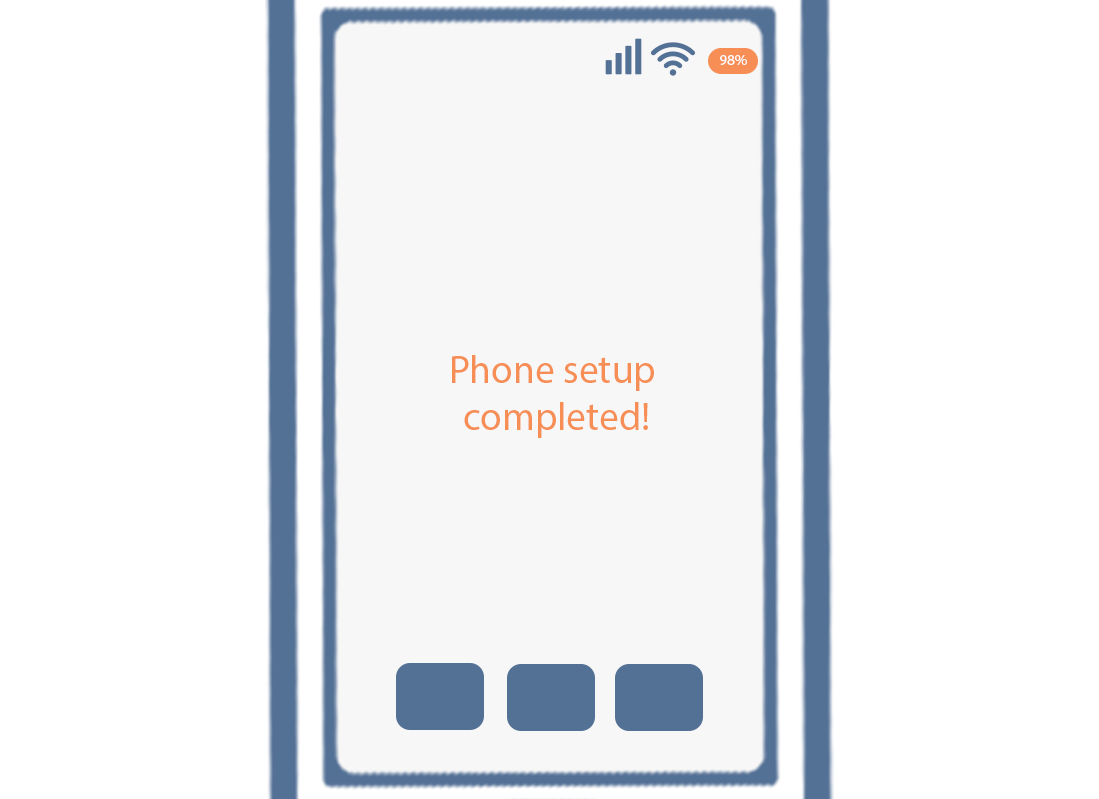
Once you are all set up, you can tap Finish. The Home screen will appear and you are ready to start exploring your phone. To check the phone is connected to the internet, look for the Wi-Fi symbol.
If you have a SIM card inserted and a mobile data plan, you'll also see the LTE, 4G or 5G symbol, depending on your model phone.
If both symbols are white, your phone is connected to Wi-Fi and the mobile network and your Android phone is ready to use. If you're unsure about any steps, you can rewind the video. If you are ready to move on there are many other courses to explore on Be Connected, to help you get the most from your Android phone.
Congratulations!
You’ve completed the Setting up your new Android phone activity.
Next up, we'll learn the Android phone: Security & privacy activity.